May 14, 2026
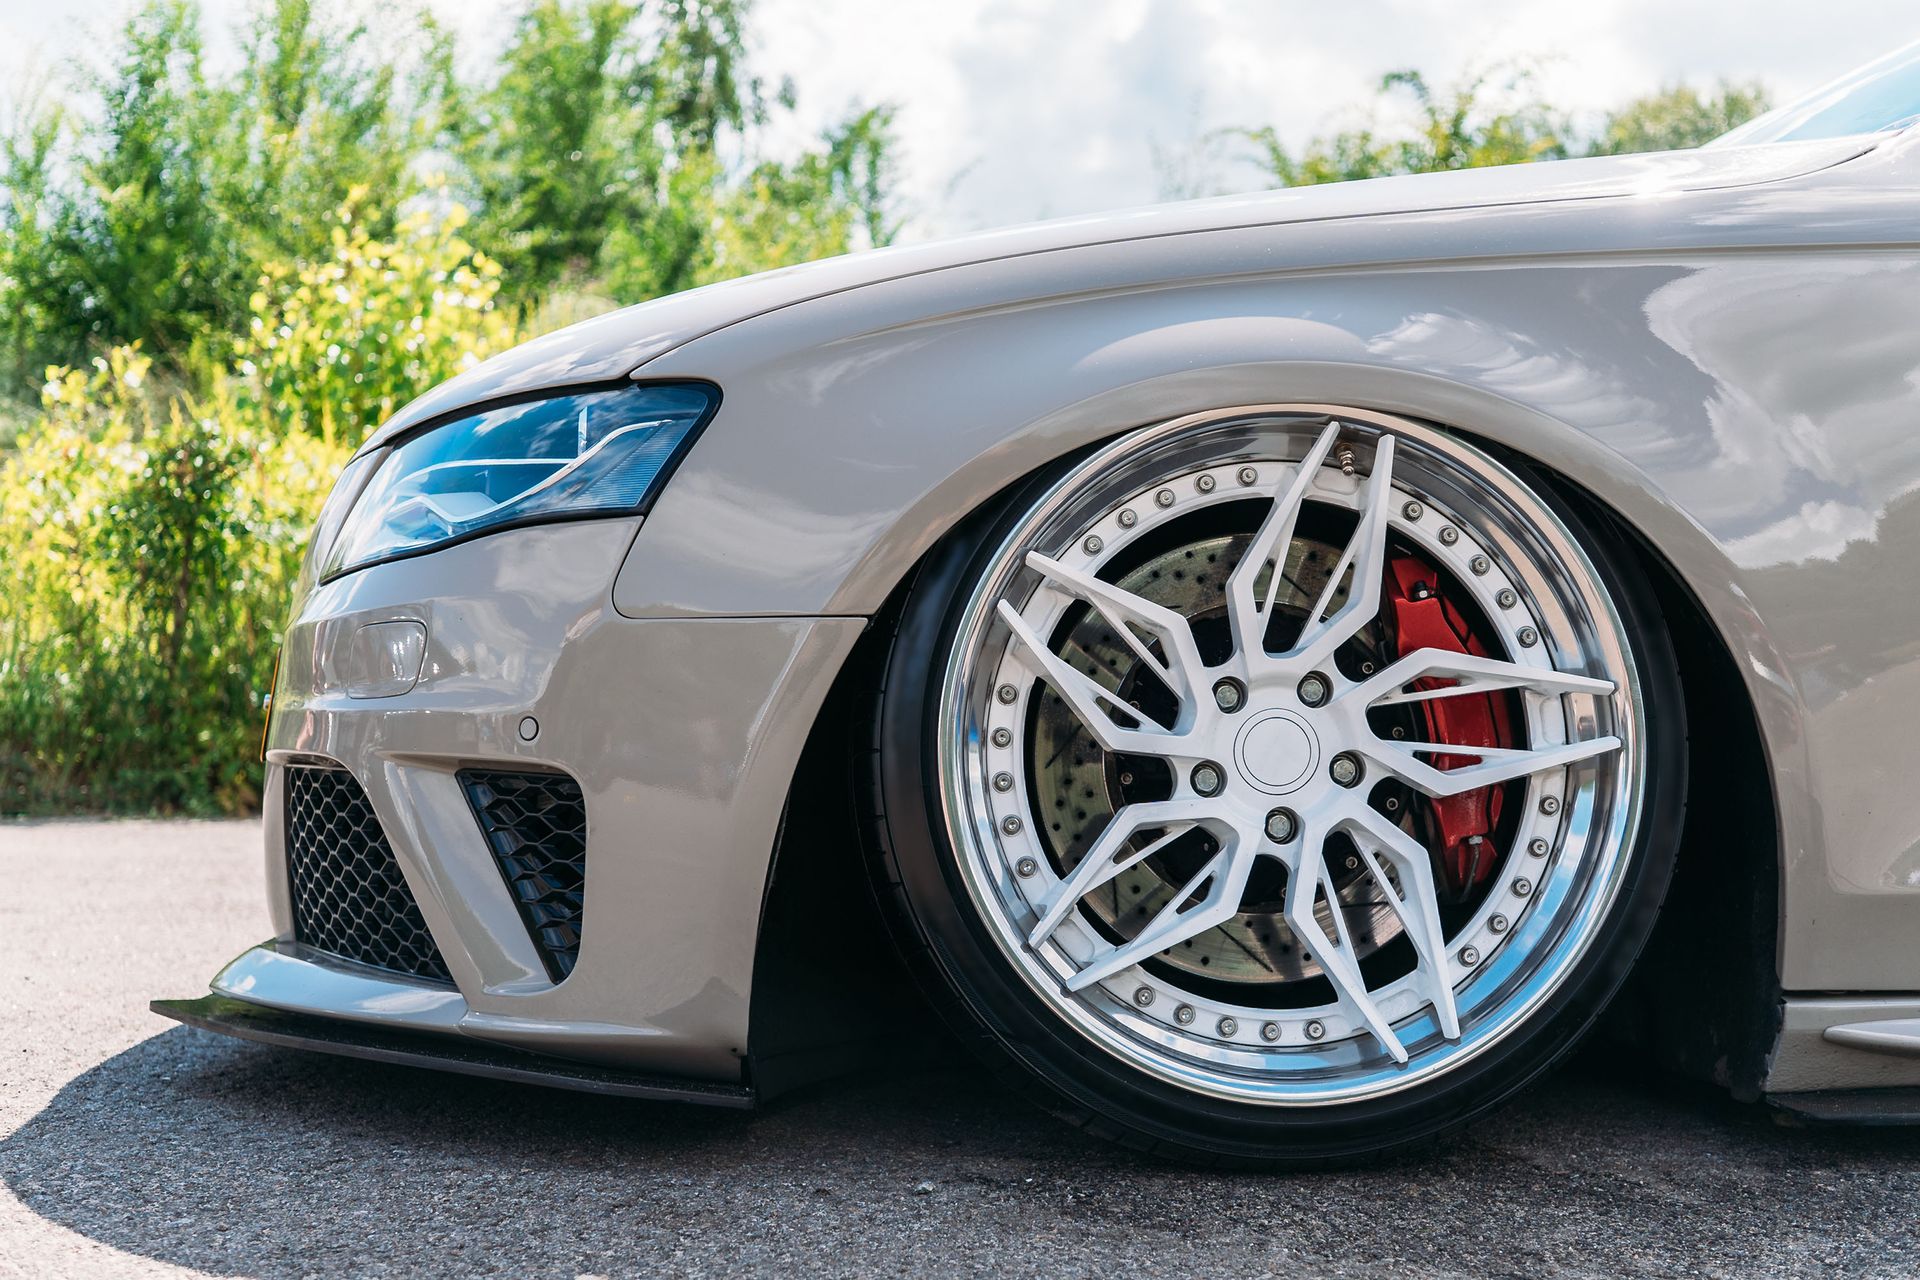
Upgrading the look and performance of your vehicle often starts with a significant aesthetic change. Many enthusiasts choose a custom wheel to distinguish their ride from the standard factory appearance. While the visual appeal is undeniable, understanding the logistical side of the installation process ensures you are prepared for the transition. Transitioning from stock components to high-end aftermarket parts requires precision, the right equipment, and an eye for detail.
The journey begins with selection, where compatibility meets style. Beyond just picking a design that looks good, technical specifications like bolt patterns, offset, and backspacing must align with your specific vehicle make and model. A custom wheel is more than just a decorative piece; it is a structural component that affects how your vehicle handles the road. Proper planning prevents common issues like rubbing against the wheel well or interference with brake calipers. Once the technical details are confirmed, the physical transformation can begin in a professional shop environment where specialized machinery is used to protect your investment.
1. Preparing the Vehicle for the Custom Wheel
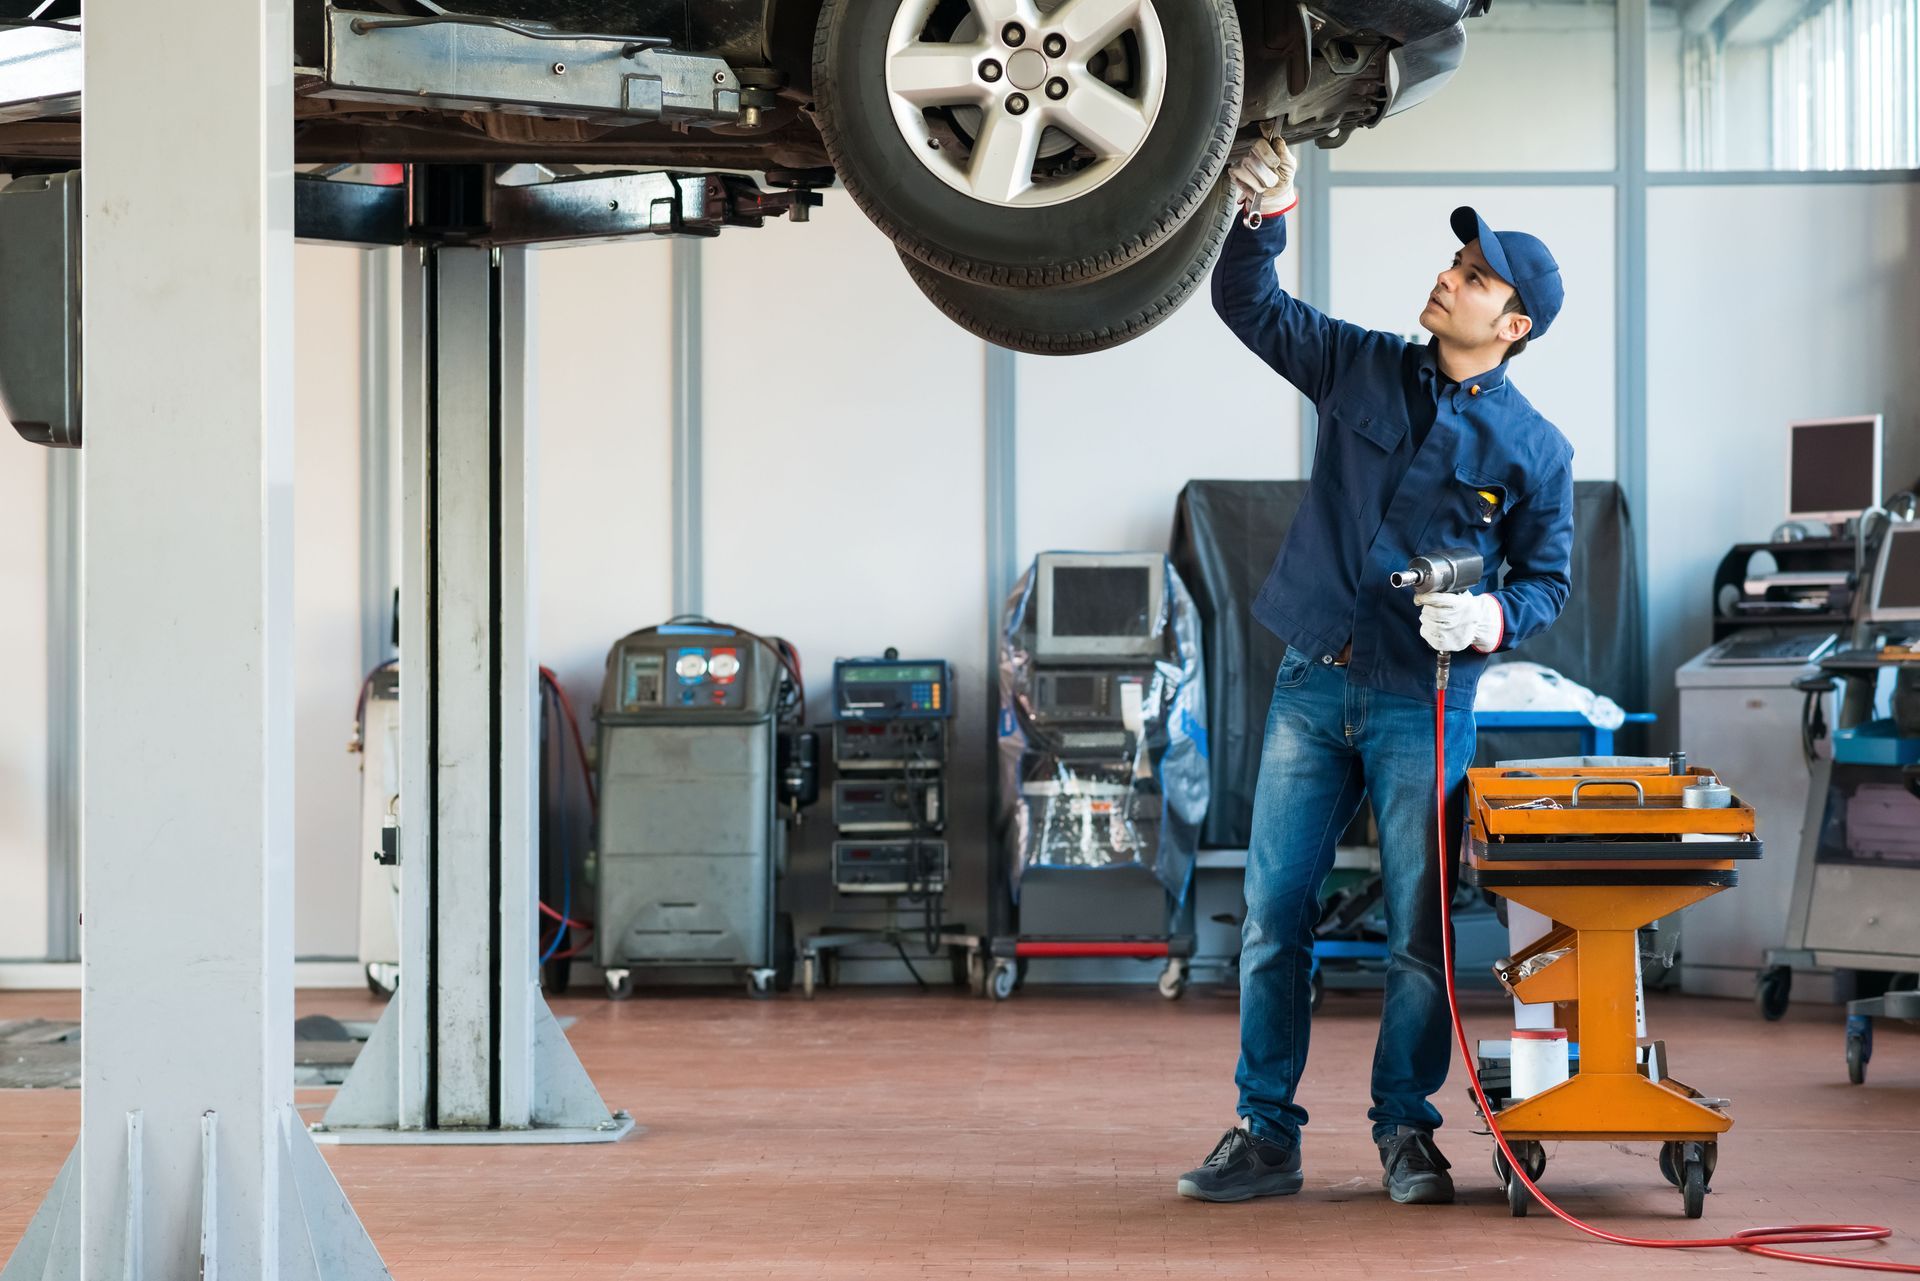
The first step in any professional installation is the safe elevation of the vehicle. Technicians use heavy-duty lifts to ensure the car or truck is stable before removing the existing lug nuts. This stage is crucial because it allows for a thorough inspection of the hubs and braking components. Before the new custom wheel is even brought over, the mounting surface must be cleaned of any debris or rust. Ensuring a flat, clean contact point between the hub and the wheel prevents vibrations and ensures the lug nuts can be torqued to the correct specifications later in the process. During this preparation phase, technicians also check for any clearance issues that might have been overlooked during the ordering process. Even with modern measuring tools, a physical test fit is often performed. This involves placing the custom wheel onto the hub without a tire mounted to check for full range of motion. This proactive step ensures that when the final assembly is complete, there are no surprises regarding brake clearance or suspension interference. Taking these extra minutes during preparation saves hours of troubleshooting later, guaranteeing a smooth and safe ride for the driver.
2. Mounting the Tires to the New Setup
Once the prep work is complete, the focus shifts to the tire mounting machine. This is a delicate process, especially when dealing with a custom wheel that may have a unique finish like chrome, matte black, or brushed aluminum. Specialized mounting heads are used to prevent scratching or marring the edges of the rim. The technician applies a lubricant to the tire bead, allowing it to slide over the lip of the wheel without causing damage. This step requires a steady hand and a high level of expertise to ensure the bead seats perfectly against the inner flange. The efficiency of this process is often a point of interest for vehicle owners waiting in the lounge. According to J.D. Power, getting new tires installed takes about 40 minutes for all four tires. That is 10 minutes for each tire. This time is, however, highly impacted by the experience of the person installing the tires and the tools available. With the right tools and experience, the time for installing new tires can be reduced to 30 minutes or less. This efficiency allows the team to move quickly into the most technical part of the installation: the balancing of the assembly.
3. Balancing the Custom Wheel Assembly
A custom wheel must be perfectly balanced to prevent steering wheel shake and uneven tire wear. Technicians place the mounted assembly onto a high-speed balancing machine that spins the wheel to identify heavy spots. Because these wheels are often chosen for their looks, professionals use adhesive weights placed on the inside of the barrel rather than clip-on weights that sit on the outer lip. This keeps the aesthetic of the custom wheel clean and uninterrupted. The machine tells the technician exactly where to place the weights to achieve a perfect "zero" balance. Precise balancing is even more critical when moving to larger diameters or wider offsets. Small discrepancies in weight distribution are magnified at highway speeds, which can lead to a vibrating steering wheel or a bumpy ride. By taking the time to ensure every custom wheel is balanced to perfection, the shop ensures that the vehicle performs as well as it looks. After balancing, the technician performs a final visual check to ensure the weights are secure and that the tire pressure is set to the manufacturer's recommended levels for optimal safety and fuel economy.
4. Final Torque and Alignment Checks
The final physical step is the installation of the wheels back onto the vehicle. This is not simply a matter of tightening the bolts; it requires a specific sequence and a calibrated torque wrench. Each custom wheel must be tightened in a star pattern to ensure even pressure across the mounting surface. Over-tightening can warp brake rotors, while under-tightening can lead to catastrophic failure on the road. Professionals refer to the specific torque ratings provided by the vehicle manufacturer to ensure every bolt is tightened exactly to the required foot-pounds. After the vehicle is back on the ground, a final alignment check is often recommended. Changing the offset or the overall diameter with a
custom wheel can slightly alter the suspension geometry. An alignment ensures that the tires make full contact with the road surface, maximizing grip and extending the life of the tread. This final attention to detail completes the installation process, transforming the vehicle's stance and giving the owner the unique look they desired while maintaining the integrity of the driving experience. The result is a vehicle that stands out in a crowd and handles the road with precision.
5. Verifying the New Road Manners
Once the installation is complete, a brief test drive serves as the final confirmation of a job well done. This allows the technician to feel the steering response and listen for any unusual noises that could indicate a clearance issue. During this drive, the technician ensures that the vehicle tracks straight and that the braking remains consistent and smooth. It is during these moments that the benefits of a professional installation become clear, as the vehicle should feel as solid as it did when it left the factory floor, only with enhanced visual appeal. High-quality craftsmanship ensures that every component works in harmony with the existing suspension and steering systems. When motorists invest in a custom wheel, they are investing in the personality of their vehicle, and seeing the finished product after a thorough inspection is the most rewarding part of the process. The combination of technical skill and high-quality parts results in a transformation that elevates the entire driving experience to a new level.
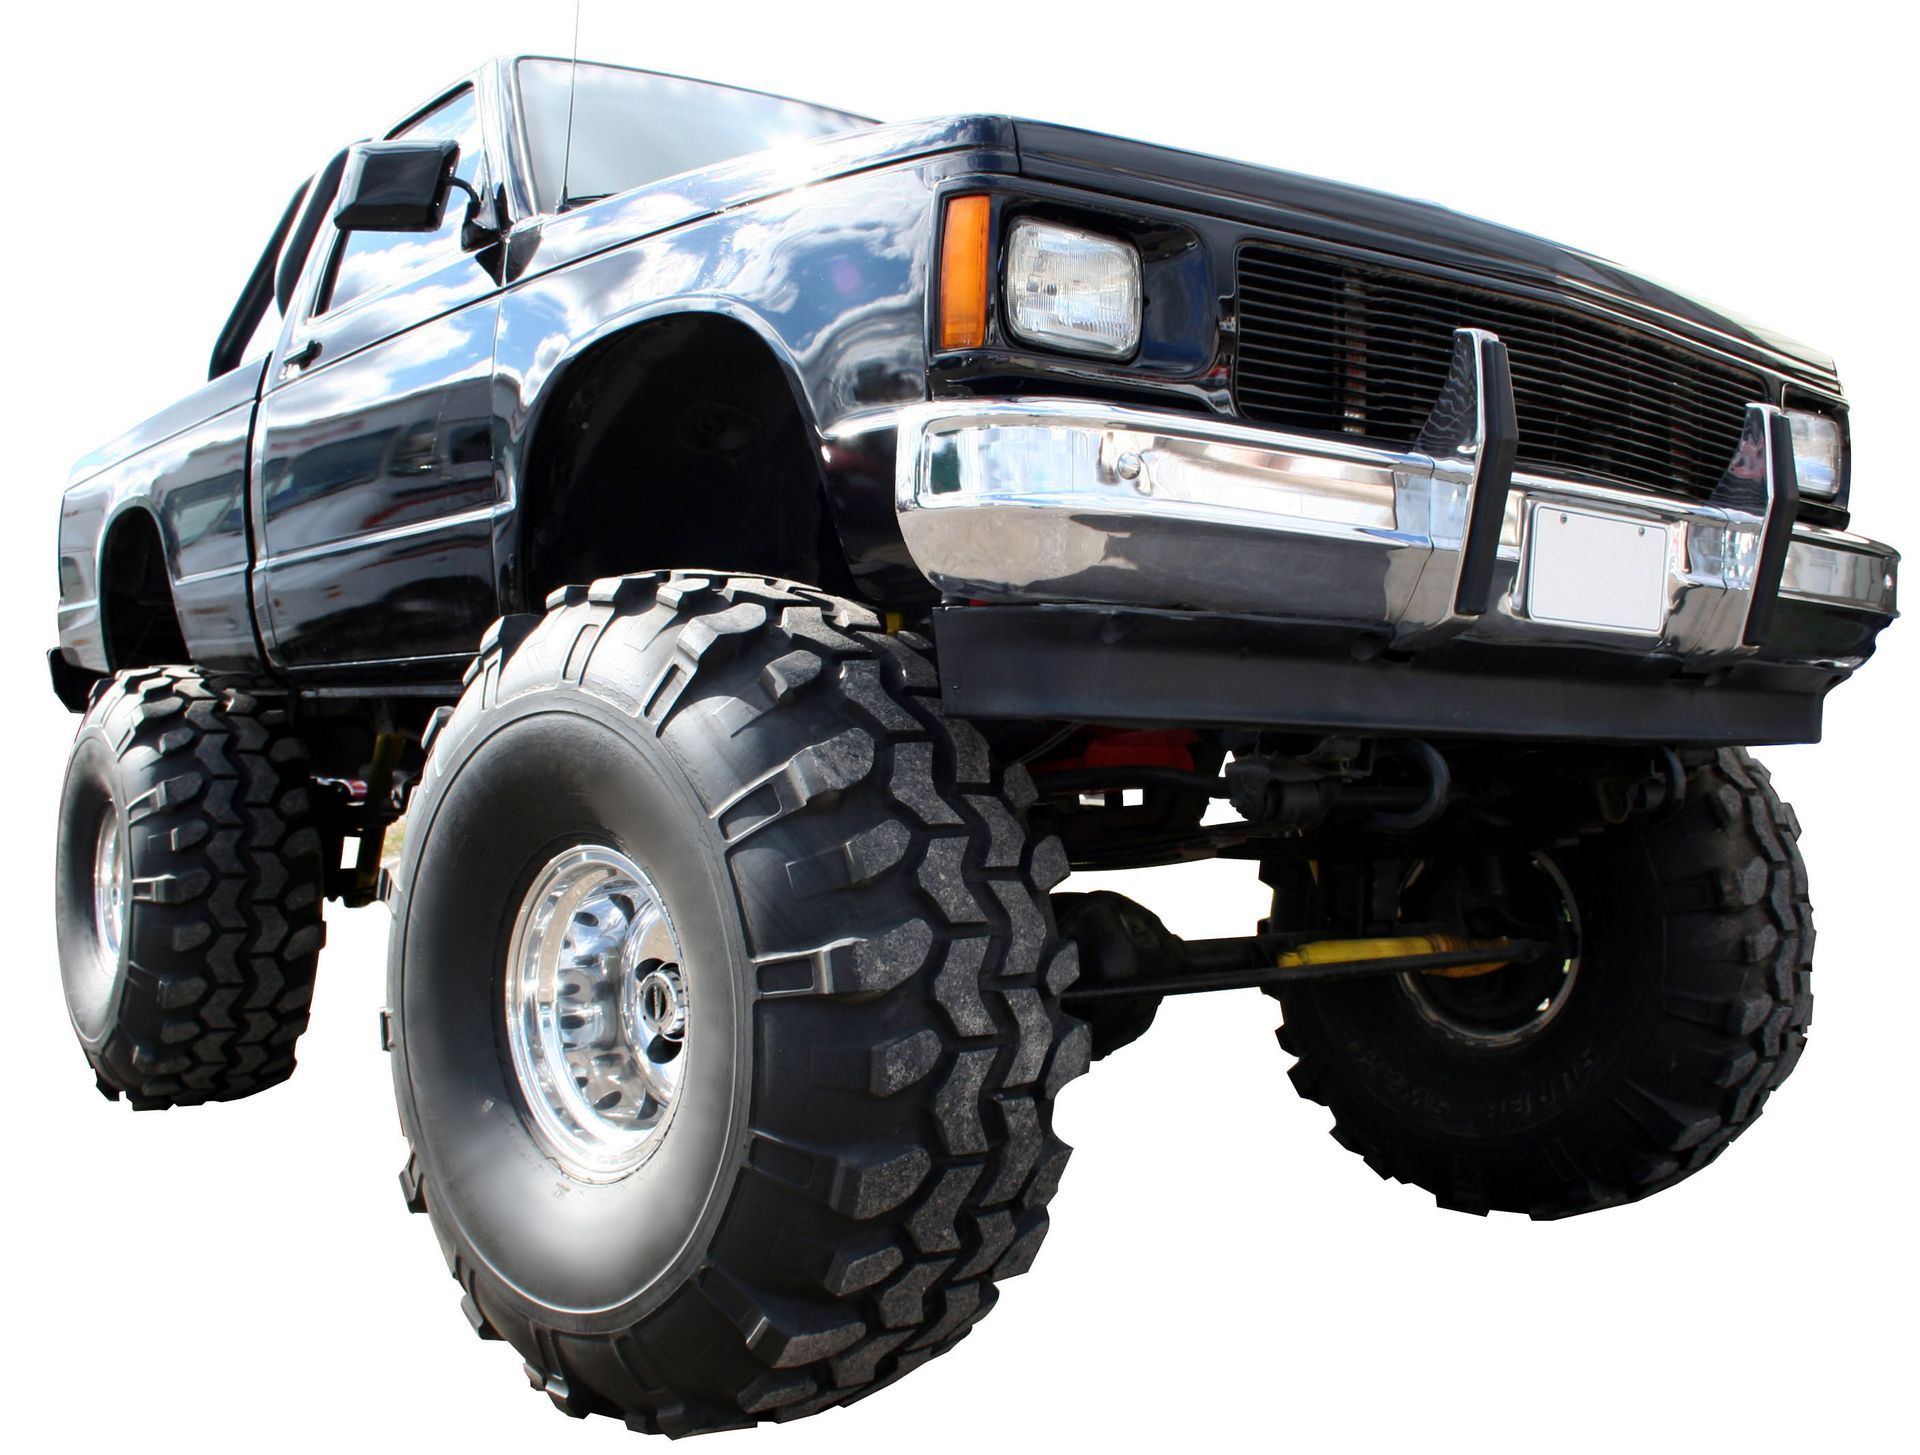
Choosing the right upgrades for your vehicle is an investment in both style and performance. When you are ready to enhance your ride with a new custom wheel, the process should be handled by professionals who understand the nuances of aftermarket fitment. We take pride in ensuring every bolt is tight and every wheel is balanced perfectly for the road ahead. Whether you are looking for a rugged off-road appearance or a sleek street aesthetic, we have the expertise to bring your vision to life. Contact Top Shop Truck & Jeep Accessories today so we can discuss your goals and help you find the perfect setup for your vehicle.